
How to Make Beaded Bracelets: A Beginner’s Step-by-Step Guide
How to Make Beaded Bracelets: A Beginner's Step-by-Step Guide
Creating bracelets with beads is a rewarding and creative process that allows you to design unique jewelry pieces. Stone beads can add natural beauty, energy, and character to your bracelets, making them perfect for personal use or gifting. In this comprehensive guide, we will walk you through everything you need to know about making a stone bead bracelet, including the materials you need, techniques, and tips for crafting a professional-looking piece. Whether you're a complete beginner or looking to refine your skills, this guide will help you create beautiful beaded bracelets that showcase the natural elegance of gemstone beads.

Why Make Your Own Beaded Bracelets?
Making your own beaded bracelets offers numerous advantages beyond just creating beautiful jewelry. When you craft bracelets with stone beads, you're not only expressing your creativity but also creating pieces that are uniquely yours. Each beaded bracelet you make can be customized to match your personal style, incorporate meaningful gemstones, or serve as thoughtful handmade gifts for loved ones.
The process of making beaded bracelets is also therapeutic and relaxing. Many people find that working with stone beads provides a meditative experience, allowing them to focus on the present moment while creating something beautiful. Additionally, learning how to make beaded bracelets gives you the skills to repair or modify existing jewelry, saving money while maintaining your favorite pieces.

Materials Needed
Before starting your beaded bracelet project, gather the following materials. Having everything ready will make the process smoother and more enjoyable:
-
Stone beads (choose your preferred type: amethyst, turquoise, onyx, jade, labradorite, etc.)
-
Elastic cord (0.5mm–1mm thick, depending on the bead hole size)
-
Scissors
-
Jewelry glue (optional, for securing knots)
-
Bead stopper or tape (to prevent beads from sliding off)
-
Measuring tape or ruler
-
Spacer beads or metal accents (optional for design enhancement)
-
Crimp beads and clasp (if making a non-stretch bracelet)

Step-by-Step Instructions
1. Choose Your Beads
Select stone beads based on your preferred style, meaning, or energy properties. Some popular options include:
-
Labradorite – Known for its iridescence and metaphysical properties. The stunning color flashes in labradorite beads create eye-catching beaded bracelets that change appearance in different lighting.
-
Amethyst – A beautiful purple stone linked to calming energy. Amethyst beads are perfect for creating elegant beaded bracelets that promote tranquility and spiritual awareness.
-
Turquoise – A vibrant blue-green stone often associated with protection. Turquoise stone beads add a pop of color to any beaded bracelet design.
-
Black Onyx – A sleek and elegant black stone known for grounding energy. Black onyx stone beads create sophisticated beaded bracelets that work well for both casual and formal occasions.
You can find a wide variety of beads here, choose what you want and get it fast. When selecting stone beads for your beaded bracelet, consider the size, shape, and quality of each bead to ensure a cohesive and professional-looking final product.

2. Measure and Cut the Cord
Wrap the elastic cord around your wrist to determine the right bracelet size. Standard bracelet sizes are:
-
Women: 6.5" to 7.5"
-
Men: 7.5" to 8.5"
-
Kids: 5" to 6.5"
Add an extra inch to your measurement to allow for knotting. Cut the cord accordingly. For beaded bracelets with larger stone beads, you may want to add slightly more length to ensure a comfortable fit. It's always better to have a bit extra cord that you can trim later than to end up with a bracelet that's too tight.

3. Arrange Your Beads
Lay out your stone beads in the desired pattern before stringing them onto the cord. This planning step is crucial for creating well-designed beaded bracelets. You can mix different types of stone beads or incorporate spacers and accent beads for a unique design. Consider creating a pattern that alternates colors, sizes, or types of stone beads to add visual interest to your beaded bracelet.
When arranging your stone beads, think about:
- Color harmony: Choose stone beads that complement each other
- Size variation: Mix different bead sizes for texture and interest
- Balance: Distribute colors and sizes evenly around the beaded bracelet
- Focal points: Use larger or more colorful stone beads as centerpieces
4. String the Beads
Use a bead stopper or tape on one end of the cord to prevent stone beads from falling off. Start stringing the stone beads onto the elastic cord, following your chosen pattern. Work carefully to maintain your design as you string each stone bead onto the cord for your beaded bracelet.
Tips for successful stringing:
- Keep the cord taut but not stretched while stringing
- Check your pattern periodically to ensure it matches your plan
- Leave enough cord at both ends for knotting
- If a stone bead doesn't fit, don't force it – choose a different bead or adjust your design

5. Secure the Knot
Once all stone beads are in place on your beaded bracelet:
-
Tie a double or surgeon's knot to secure the elastic cord. This type of knot is essential for beaded bracelets as it provides extra security.
-
Pull the knot tight and apply a small dab of jewelry glue for extra security. This step is particularly important for beaded bracelets that will be worn frequently.
-
Tuck the knot into a nearby stone bead hole for a clean finish. This professional touch makes your beaded bracelet look polished and prevents the knot from being visible.

6. Making a Clasp Bracelet (Optional)
If you prefer a beaded bracelet with a clasp instead of an elastic cord:
-
Use beading wire instead of elastic. This is ideal for beaded bracelets with heavier stone beads.
-
Attach a crimp bead to one end and loop the wire through a jump ring and clasp. This creates a secure foundation for your beaded bracelet.
-
String the stone beads, then finish by attaching another crimp bead and jump ring to the other end. This method produces more durable beaded bracelets that can withstand daily wear.
7. Final Touches
Gently stretch the beaded bracelet to ensure the knot holds. Trim any excess cord and inspect the beaded bracelet for a professional finish. Check that all stone beads are properly aligned and that the beaded bracelet fits comfortably on your wrist.

How to Choose Beads for Beaded Bracelets
Creating a beaded bracelet starts with selecting the right stone beads. Whether you're making a simple stretch bracelet or a more intricate design, the quality, size, and type of stone beads you choose will impact the final piece. If you're working with stone beads, it's especially important to select high-quality, genuine gemstones. Here's a comprehensive guide to help you choose the best stone beads for your beaded bracelets.
1. Choose the Right Material
Stone beads come in various materials, including glass, metal, wood, and gemstones. For a timeless and elegant look, stone beads are the best option. They add a natural and sophisticated touch to your beaded bracelets while also offering unique properties based on the type of gemstone used. When selecting stone beads for your beaded bracelet, consider both aesthetic appeal and the metaphysical properties that different gemstones are believed to possess.
Best Stone Beads for Bracelets
-
Labradorite – Known for its stunning iridescence and mystical energy. Labradorite stone beads create captivating beaded bracelets that display beautiful color flashes.
-
Onyx – A sleek black gemstone that adds a bold and classic look to beaded bracelets. Black onyx stone beads are versatile and work well in both casual and formal beaded bracelet designs.
-
Turquoise – Bright blue-green stone beads that bring a vibrant and earthy feel to beaded bracelets. Turquoise stone beads are perfect for creating bohemian-style beaded bracelets.
-
Amethyst – A purple gemstone associated with balance and calmness. Amethyst stone beads create elegant beaded bracelets that promote tranquility.
-
Tiger's Eye – A golden-brown stone bead known for its protective properties. Tiger's eye stone beads add warmth and depth to beaded bracelets.
Stone beads are the most important part of any beaded bracelet. If you're planning to buy stone beads, it's best to purchase them from a place where a certified gemologist is available. That's why we always recommend RezaGemCollection, founded by Reza Piroznia, a certified gemologist known for his expertise and high-quality gemstones. When you purchase stone beads from RezaGemCollection, you can be confident that your beaded bracelets will feature authentic, high-quality gemstones.

2. Pick the Right Bead Size
The size of the stone beads determines the overall style and feel of your beaded bracelet. Here are some common stone bead sizes and how they affect beaded bracelet designs:
-
2mm to 4mm – Delicate and subtle stone beads, great for layering or minimalist beaded bracelets. These smaller stone beads create dainty beaded bracelets that are perfect for everyday wear.
-
6mm – A versatile stone bead size that works well for both men's and women's beaded bracelets. This size of stone bead offers a balanced look in beaded bracelets.
-
8mm – The most popular stone bead size, offering a balanced and noticeable look in beaded bracelets. These stone beads create substantial beaded bracelets without being overwhelming.
-
10mm+ – Bold and chunky stone beads, making a statement piece in your beaded bracelet. Larger stone beads create eye-catching beaded bracelets that command attention.
3. Consider Bead Shape
While round stone beads are the most common for beaded bracelets, there are other shapes to consider:
-
Round Beads – Classic and versatile stone beads, perfect for any beaded bracelet design. Round stone beads are the foundation of most beaded bracelets.
-
Rondelle Beads – Slightly flattened stone beads, ideal for stacking and layering in beaded bracelets. Rondelle stone beads add visual interest to beaded bracelets.
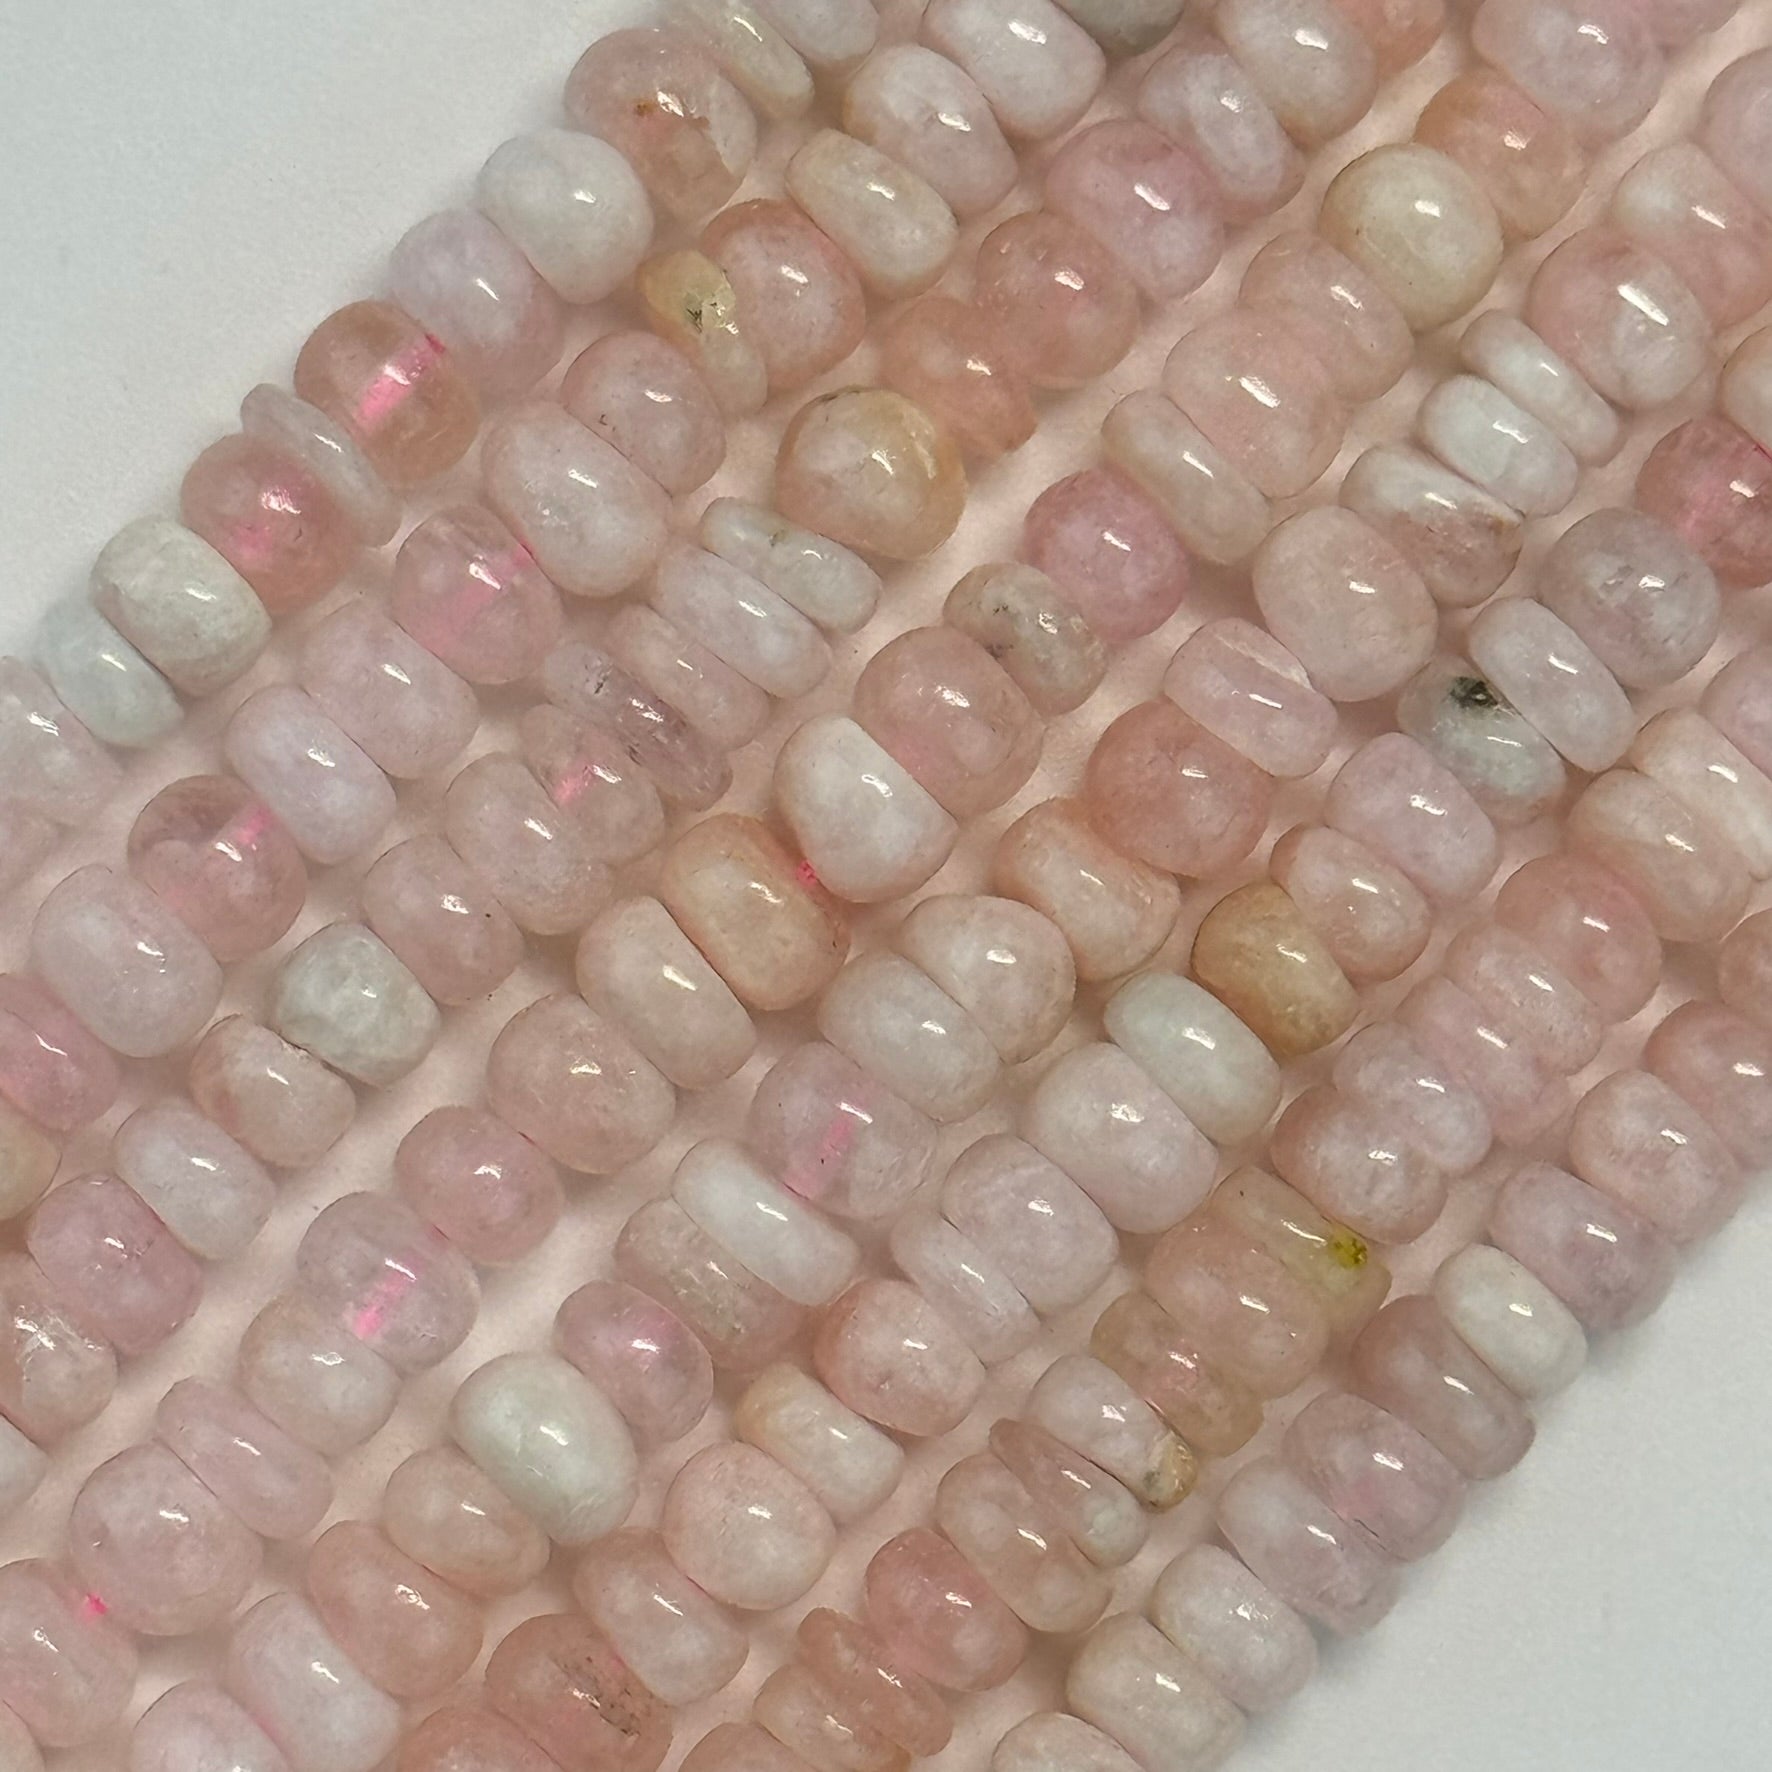
Rondelle Beads - Polished Collection
Explore our collection of Rondelle Beads with polished finish, perfect for elegant and timeless jewelry designs. Each bead is expertly smoothed to enhance its natural color and shine.
View All Polished Rondelle Beads -
Square Beads – Modern and structured stone beads, adding a geometric touch to beaded bracelets. Square stone beads create contemporary beaded bracelet designs.
-
Barrel Beads – Cylindrical stone beads, offering a bold and unique look in beaded bracelets. Barrel-shaped stone beads add texture to beaded bracelets.
4. Check the Bead Hole Size
The hole size in your stone beads determines which type of stringing material you can use for your beaded bracelet.
- For stretch bracelets, make sure the stone bead holes are large enough to accommodate elastic cord (usually 0.5mm to 1mm thick).
- For wire or thread-based beaded bracelets, ensure the stone bead holes match your chosen stringing material.
5. Match the Beads to Your Design & Meaning
Each gemstone stone bead has its own symbolic meaning and healing properties. Choosing stone beads based on their significance can make your beaded bracelet more personal and meaningful:
-
Love & Compassion – Rose quartz stone beads create romantic beaded bracelets
-
Protection & Strength – Black onyx and tiger's eye stone beads for protective beaded bracelets
-
Wealth & Success – Citrine and green aventurine stone beads for prosperity beaded bracelets
-
Spirituality & Intuition – Amethyst and labradorite stone beads for spiritual beaded bracelets

6. Choose High-Quality Beads
Low-quality stone beads can ruin the look of your beaded bracelet. Here's what to look for when selecting stone beads:
- Uniform shape and size – Consistent stone beads create professional-looking beaded bracelets
- Smooth surface with minimal cracks – High-quality stone beads ensure durable beaded bracelets
- Vibrant, natural color – Authentic stone beads produce beautiful beaded bracelets (not artificially dyed unless desired)
How to Make Friendship Bracelets with Beads
Friendship beaded bracelets are a timeless way to show appreciation for someone special. Adding stone beads, especially birthstone beads, makes them even more meaningful. A personalized beaded friendship bracelet can symbolize a strong bond, shared memories, and well wishes. Creating beaded friendship bracelets with stone beads allows you to incorporate meaningful gemstones that represent your friendship.
Here's how you can make a beautiful beaded friendship bracelet, starting with your birthstone for a personal touch. Beaded friendship bracelets made with stone beads are not only beautiful but also carry special significance when you use birthstone stone beads.
1. Choose Your Birthstone Bead
A great way to start a beaded friendship bracelet is by incorporating your birthstone or your friend's birthstone. This makes the beaded bracelet unique and personal while adding a touch of gemstone energy. Birthstone stone beads add special meaning to beaded friendship bracelets, making them cherished gifts.
Birthstones & Their Meanings:
-
January – Garnet (Protection & Strength) – Perfect stone beads for protective beaded friendship bracelets
-
February – Amethyst (Wisdom & Peace) – Beautiful purple stone beads for calming beaded friendship bracelets
-
March – Aquamarine (Calm & Courage) – Serene blue stone beads for peaceful beaded friendship bracelets
-
April – Clear Quartz or Diamond (Clarity & Purity) – Clear stone beads for pure beaded friendship bracelets
-
May – Emerald (Love & Growth) – Green stone beads for growth-focused beaded friendship bracelets
-
June – Moonstone or Pearl (Intuition & Balance) – Mystical stone beads for intuitive beaded friendship bracelets
-
July – Ruby (Passion & Confidence) – Red stone beads for passionate beaded friendship bracelets
-
August – Peridot (Happiness & Positivity) – Green stone beads for joyful beaded friendship bracelets
-
September – Sapphire (Loyalty & Wisdom) – Blue stone beads for loyal beaded friendship bracelets
-
October – Opal or Tourmaline (Creativity & Love) – Colorful stone beads for creative beaded friendship bracelets
-
November – Citrine (Prosperity & Joy) – Yellow stone beads for prosperous beaded friendship bracelets
-
December – Turquoise or Blue Topaz (Protection & Healing) – Blue stone beads for healing beaded friendship bracelets
You can use your own birthstone stone beads, your friend's birthstone stone beads, or even both in one beaded friendship bracelet!
2. Gather Your Materials
To make a simple beaded friendship bracelet, you'll need:
- ✔ Birthstone stone beads (or other meaningful stone beads)
- ✔ Accent beads (silver, gold, wood, or other gemstone stone beads)
- ✔ Stretch cord (0.5mm - 1mm) or nylon thread
- ✔ Scissors
- ✔ Jewelry glue (optional, for extra security)
3. Design Your Bracelet
Before stringing the stone beads, plan your design for your beaded friendship bracelet. You can mix your birthstone stone beads with other meaningful stone beads, such as:
-
Black Onyx stone beads for protection in your beaded friendship bracelet
-
Rose Quartz stone beads for love and friendship in your beaded friendship bracelet
-
Labradorite stone beads for positive energy in your beaded friendship bracelet
-
Tiger's Eye stone beads for confidence in your beaded friendship bracelet
Try different patterns, like alternating birthstone stone beads with metal spacer beads or creating a gradient effect with different gemstone shades in your beaded friendship bracelet.
4. String the Beads
-
Measure Your Wrist – Add about 1 inch extra for comfort when making your beaded friendship bracelet.
-
Cut Your String – If using stretch cord, cut it a few inches longer than your wrist size for your beaded friendship bracelet.
-
Start Stringing – Thread the stone beads in your planned pattern for your beaded friendship bracelet.
-
Tie a Secure Knot – Use a surgeon's knot or double knot to secure your beaded friendship bracelet.
-
Apply Glue (Optional) – A drop of jewelry glue on the knot helps prevent your beaded friendship bracelet from coming undone.
-
Let It Dry & Trim Excess – Let the glue dry fully before wearing your beaded friendship bracelet.
5. Gift & Wear Your Bracelet
Beaded friendship bracelets are meant to be worn daily as a symbol of your bond. You can make matching beaded bracelets with your best friend's birthstone stone beads or create a set of beaded friendship bracelets for a group of friends.
Why Birthstone Friendship Bracelets Make the Perfect Gift
-
Personalized & Meaningful – Beaded friendship bracelets with birthstone stone beads carry special significance.
-
Stylish & Versatile – Beaded friendship bracelets can be worn alone or stacked with other beaded bracelets.
-
Handmade with Love – A thoughtful, DIY beaded friendship bracelet always feels more special than store-bought jewelry.
How to Make Keychains with Gemstone Beads
Creating keychains with gemstone stone beads is a fun and rewarding craft that allows you to make personalized accessories. Gemstone stone beads not only add beauty to your keychain but also bring unique metaphysical properties. Whether you want a stylish charm or a meaningful gift, this guide will help you craft a stunning gemstone stone bead keychain step by step.
Materials Needed
Before starting your gemstone stone bead keychain project, gather the following materials:
-
Gemstone stone beads – Choose from a variety of stone beads like amethyst, tiger's eye, rose quartz, or onyx. You can find a wide selection of gemstone stone beads here.
-
Keychain ring or lobster clasp – The base to attach your stone bead design.
-
Headpins or eyepins – Thin metal pins that help secure stone beads in place.
-
Round-nose pliers – Essential for bending wire and making loops with stone beads.
-
Wire cutters – Used to trim excess wire when working with stone beads.
-
Jump rings – Small metal rings to connect stone bead components to the keychain.
-
Spacer beads or charms (optional) – Add extra style and uniqueness to your stone bead keychain design.
Step-by-Step Instructions
Selecting Your Beads
Choose gemstone stone beads based on your aesthetic preferences or the energy properties you want to incorporate. Some popular gemstone stone bead choices include:
-
Amethyst stone beads – Known for their calming and spiritual properties.
-
Tiger's Eye stone beads – A protective stone bead associated with confidence and strength.
-
Rose Quartz stone beads – Symbolize love and emotional healing.
-
Lapis Lazuli stone beads – A deep blue stone bead connected to wisdom and communication.
Assembling the Bead Charm
Start by threading a gemstone stone bead onto a headpin. If using multiple stone beads, add spacer beads between them for a balanced look. Leave some space at the top of the headpin to create a loop with your stone beads.
Creating a Wire Loop
Using round-nose pliers, bend the headpin at a 90-degree angle just above the top stone bead. Wrap the wire around the pliers to form a small loop, then trim the excess wire with cutters. Ensure the loop is fully closed so the stone bead doesn't slip out.
Attaching the Bead to the Keychain Ring
Open a jump ring using pliers and slide it through the loop you just created with your stone bead. Attach the jump ring to the keychain ring or lobster clasp before closing it securely.
Adding Extra Charms or Accents
For a decorative touch, include additional elements like small metal charms, spacer beads, or multiple gemstone stone beads on separate headpins. Arrange them at different lengths for a stylish effect with your stone beads.
Tips for Perfect Beaded Bracelets
Creating professional-looking beaded bracelets requires attention to detail and proper technique. Here are essential tips for making beautiful beaded bracelets with stone beads:
-
Quality matters: Invest in high-quality stone beads for durable beaded bracelets that last.
-
Consistent sizing: Use stone beads of similar size for uniform beaded bracelets.
-
Proper tension: Maintain consistent cord tension when stringing stone beads for your beaded bracelet.
-
Secure knots: Always use double knots when finishing beaded bracelets with stone beads.
-
Test durability: Gently stretch your beaded bracelet after completion to ensure all stone beads are secure.
Conclusion
Making beaded bracelets with stone beads is a rewarding craft that combines creativity, personal expression, and the natural beauty of gemstones. Whether you're creating simple beaded bracelets for yourself or intricate beaded friendship bracelets as gifts, the techniques in this guide will help you produce professional-quality beaded bracelets that showcase the elegance of stone beads.
Remember, practice makes perfect. Start with simple beaded bracelet designs using basic stone beads, then gradually experiment with more complex patterns and techniques. Each beaded bracelet you create with stone beads will teach you something new and help you refine your skills.
The beauty of working with stone beads is that each beaded bracelet you make will be unique, reflecting both your creative vision and the natural variations inherent in gemstone stone beads. So gather your materials, choose your favorite stone beads, and start creating your own beautiful beaded bracelets today!