Labradorite Jewelry: How to Make Necklaces, Earrings, Bracelets, Rings, and Pendants
Labradorite Stone (Scientific Overview)
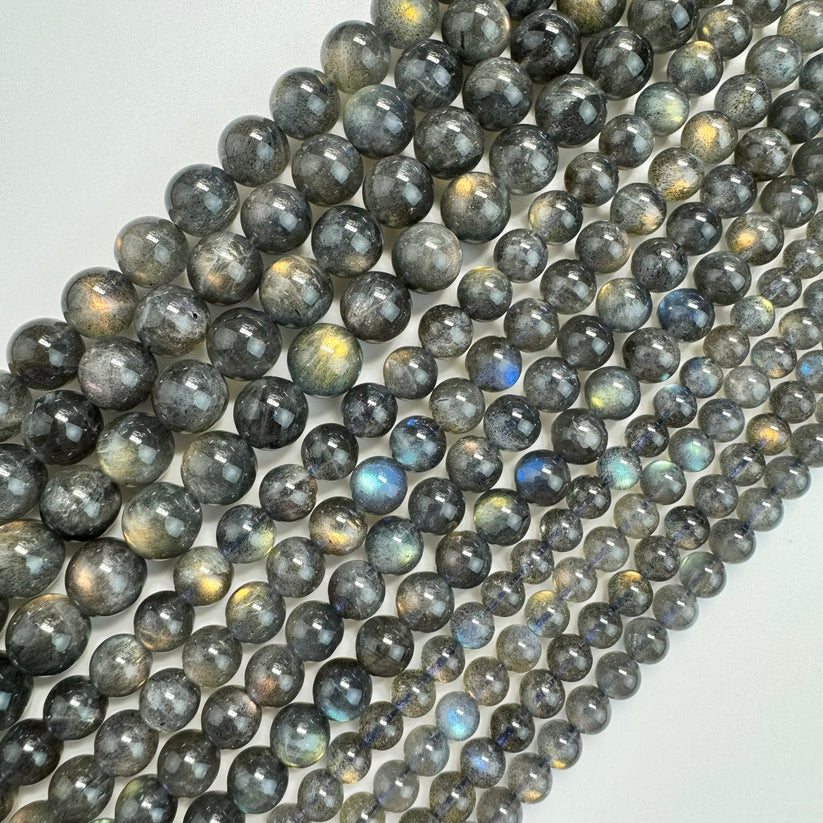
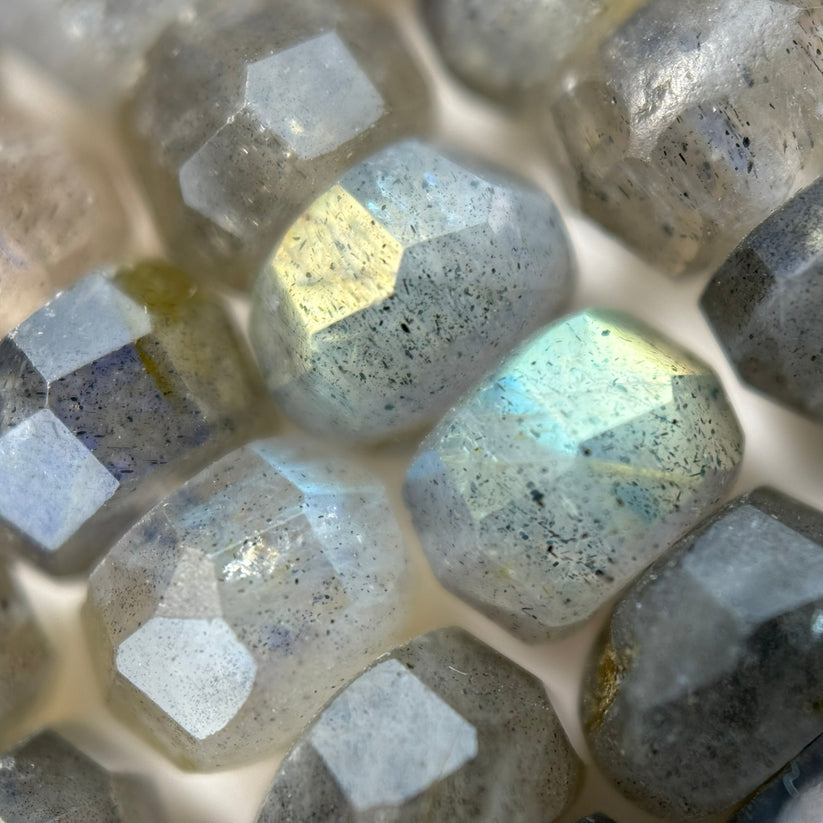
Labradorite is a complex silicate mineral belonging to the feldspar group, characterized by its unique optical phenomenon known as labradorescence. This phenomenon occurs due to the interference of light within the microscopic layers of the mineral, producing iridescent colors, primarily blue, green, and gold. The mineral's chemical formula is (Ca, Na)(Al, Si)4O8, and it typically forms in igneous rocks. Labradorite is primarily composed of sodium-calcium aluminosilicate and is often found in mafic and intermediate rocks, especially in regions with volcanic origins. Its hardness on the Mohs scale is between 6 and 6.5, making it relatively durable and suitable for jewelry use.
to check our labradorite collection simply click here
Labradorite Stone History
Labradorite was first discovered in Labrador, Canada, in the late 18th century, and it is from this location that the stone gets its name. The mineral was originally found in the 1770s by Moravian missionaries, though its unique optical properties weren't fully recognized until later. In the 19th century, the gemstone gained prominence in European markets, particularly after its iridescence was scientifically explained. Labradorite became sought after in both ornamental and spiritual contexts, with its striking appearance being used in jewelry, sculptures, and decorative items. Over time, it has also been revered in various cultures for its mystical properties, symbolizing transformation, protection, and spiritual awakening.
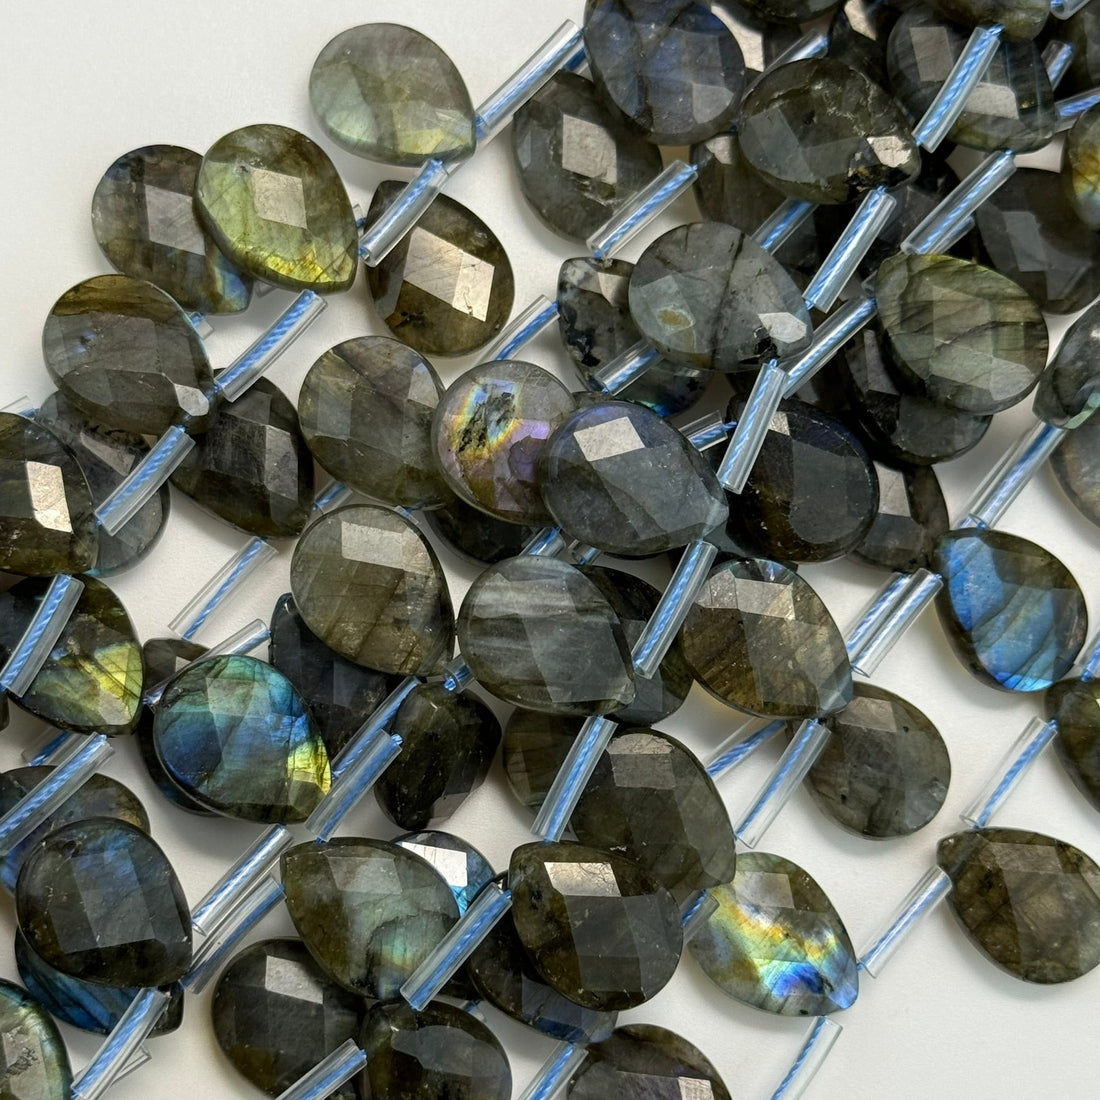
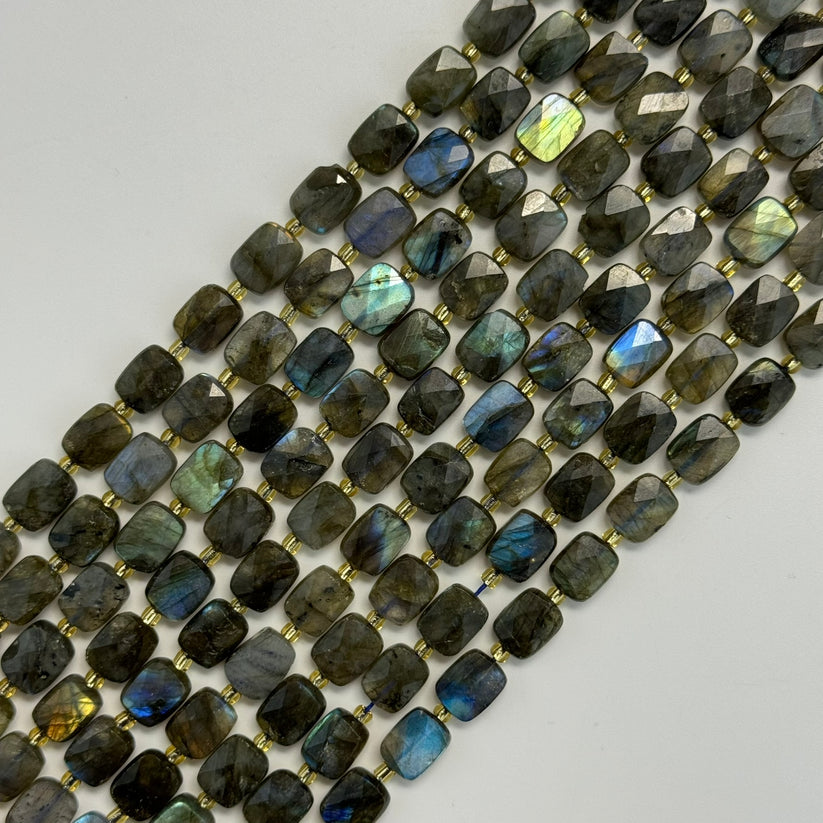
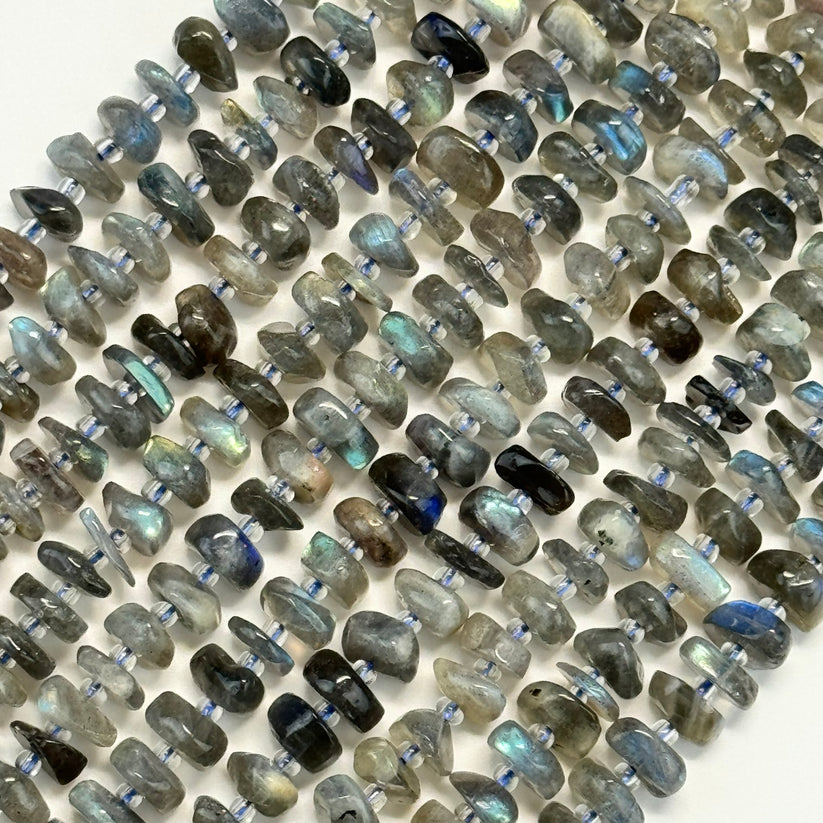
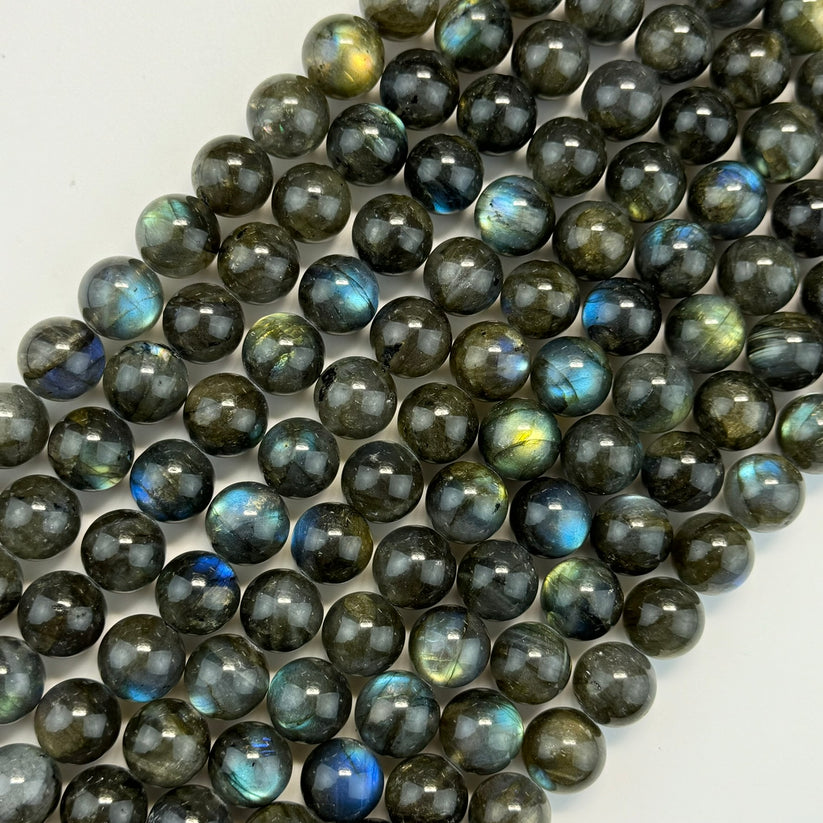
all the images in this Blog Post is ready to sell on website - click here on labradorite collection
Canadian Labradorite
Canadian Labradorite, particularly from the province of Labrador in Newfoundland and Labrador, is known for its exceptional quality and vibrant labradorescence. The material from this region has become renowned globally due to its striking color play, which can range from blues and greens to rare purples and reds. This stone is highly prized in the gem and mineral industry for its clarity and the intensity of its optical effect. Labradorite from Canada is often considered the finest, with its iridescent display making it ideal for high-end jewelry and decorative art. Due to its natural occurrence in volcanic rock formations, Canadian labradorite is not only a gemstone but also a significant part of the geological landscape, with its striking appearance making it a unique treasure from the region.
Labradorite Meaning
Labradorite is a gemstone rich in symbolism and meaning. It is often regarded as a stone of transformation and change, believed to enhance personal growth and bring out hidden talents. The stone's captivating play of colors, known as labradorescence, represents the awakening of the mind and spirit, helping individuals move forward in their lives with confidence and clarity.
Labradorite is also associated with mysticism and spiritual awakening. It is thought to enhance psychic abilities, intuition, and inner wisdom, allowing those who work with it to access higher realms of consciousness. This gemstone is considered a powerful tool for those on a journey of self-discovery or spiritual development, as it encourages strength, resilience, and the ability to embrace new beginnings.
In addition to its spiritual properties, labradorite is often seen as a symbol of protection, offering a shield against negative energies while encouraging a sense of balance and calm. It is a stone that fosters inner peace while empowering its wearer to unlock their full potential.
Labradorite Properties
Labradorite is a captivating gemstone known for its vibrant play of color, often displaying shades of blue, green, gold, and even purple, depending on the angle of light. This unique iridescence is known as labradorescence, which is one of the defining features of the stone. Beyond its beauty, labradorite is believed to have several metaphysical properties, including:
-
Protection and Grounding: Labradorite is often referred to as a stone of protection. It is believed to create a shield around the wearer, protecting them from negative energies and environmental stress.
-
Intuition and Inner Strength: Labradorite is said to enhance intuition and psychic abilities, making it a favored stone for those seeking to connect more deeply with their spiritual selves. It's also known to promote inner strength, helping the wearer face challenges with courage and resilience.
-
Balance and Healing: The stone is thought to balance the body's energies, promote emotional healing, and bring about a sense of peace. It can be used to alleviate stress and anxiety, allowing for a more centered and harmonious life.
Whether you're looking for a protective talisman or simply captivated by its mesmerizing colors, labradorite offers both beauty and energy to its wearer.
Labradorite Jewelry: A Timeless Blend of Beauty and Mysticism
Labradorite jewelry is known for its mesmerizing beauty and unique play of colors, referred to as labradorescence. The stone shifts in hue as it catches the light, revealing vibrant shades of blue, green, gold, and sometimes even purple, making it a captivating addition to any jewelry collection. Its mystical appearance has made it a favorite among those who appreciate not only its aesthetic allure but also its spiritual properties.
Labradorite, a member of the feldspar mineral family, is often used in various types of jewelry, including rings, necklaces, earrings, and bracelets. The stone's ability to reflect different colors depending on the angle of the light makes each piece of labradorite jewelry truly unique. It is this iridescent quality that draws attention and gives the jewelry an enchanting, otherworldly appeal.
Versatility in Jewelry Design:
Labradorite's versatility makes it suitable for a wide range of jewelry designs. The gemstone can be set in both modern and traditional pieces, from simple cabochon rings to intricate wire-wrapped necklaces. Whether it's used as a focal point in a statement piece or as accent stones, labradorite brings an added dimension to any design. Its eye-catching color-changing properties also allow it to pair well with other gemstones and metals, offering endless design possibilities.
Spiritual Significance:
Beyond its beauty, labradorite is known for its metaphysical properties. It is considered a stone of transformation, believed to enhance intuition, psychic abilities, and spiritual awareness. Many wear labradorite jewelry for its calming and protective qualities, as the stone is thought to shield the wearer from negative energies while fostering inner strength and clarity.
Labradorite Jewelry Care:
While labradorite is relatively durable, it is important to care for it properly to maintain its brilliant appearance. To preserve its iridescence, avoid exposing it to excessive heat or harsh chemicals. Clean your labradorite jewelry gently with a soft cloth to remove dirt and fingerprints, ensuring the stone's shine is not dulled over time.
In conclusion, labradorite jewelry is a beautiful and meaningful accessory that combines the natural beauty of the gemstone with its deep spiritual significance. Whether you're drawn to its striking visual effects or its protective energy, labradorite is a stone that adds elegance and mystique to any jewelry piece.
How to Make a Labradorite Ring: A Step-by-Step Guide
Making a labradorite ring involves a combination of jewelry-making techniques, including stone setting, metalworking, and polishing. Here's a guide to help you create a stunning labradorite ring:
Materials Needed:
-
Labradorite cabochon: Choose a high-quality labradorite stone, typically cut into a cabochon shape, which is smooth and rounded.
-
Ring shank: You can use a pre-made ring band or create one from metal wire.
-
Metal for setting: Silver, gold, or any other metal of your choice for the bezel setting.
-
Jewelry soldering kit: For joining metal pieces.
-
Saw and files: For shaping the metal.
-
Polishing tools: To finish the metal and stone.
-
Jeweler's glue or epoxy (optional, for securing the stone).
Step-by-Step Process:
-
Design the Ring
Start by sketching your desired ring design. Determine the size of the labradorite stone and how you want it to sit on the band. Plan out the style of the ring—whether it's a simple bezel setting or a more elaborate design with added elements like decorative details or accents. -
Prepare the Metal
If you're making your own ring shank, cut and shape your chosen metal wire or sheet into a ring band that fits your finger size. If you're using a pre-made band, ensure it's clean and ready for the setting. Use a jeweler's saw and files to refine the edges and ensure a smooth, comfortable fit. -
Create the Bezel Setting
To set the labradorite, you'll need a bezel (a thin metal strip that holds the stone in place). Cut a strip of metal to fit around the circumference of the stone, ensuring it's slightly larger than the stone's size for a secure fit. Use a bezel pusher or a flat tool to carefully fold the edges of the metal over the stone. Solder the ends of the bezel together to form a complete ring that snugly holds the labradorite cabochon. -
Attach the Bezel to the Ring Shank
Position the bezel on the top of your ring band. Use jewelry soldering techniques to securely attach the bezel to the band. Ensure the bezel is centered and aligned properly before soldering. -
Polish and Finish the Ring
Once the bezel is attached, use files to smooth any rough edges and refine the overall shape. Polish the metal to a shine using a jewelry polishing cloth or polishing tools to give it a smooth, high-quality finish. Be sure not to scratch the labradorite while polishing. -
Set the Labradorite Stone
Carefully place the labradorite stone into the bezel setting. If necessary, use jeweler's glue or epoxy to help hold the stone in place, especially if the fit is snug. If the bezel is well-made, the stone should stay securely in place without additional adhesives. -
Final Touches
Inspect the ring for any sharp edges or rough areas and smooth them out. Check that the labradorite stone is set securely and that the ring is comfortable to wear.
to check our labradorite collection simply click here
Tips for Working with Labradorite:
-
Avoid Overheating: Labradorite can be sensitive to high temperatures, so be cautious during soldering. It's essential to work at lower temperatures when heating the metal to avoid damaging the stone.
-
Enhance the Stone's Color: Labradorite's iridescent colors are more prominent when light interacts with the stone at the right angle. Ensure your bezel setting does not obscure the stone's play of color.
Labradorite Bracelet: How to Make One
Creating a labradorite bracelet combines the beauty of the gemstone with the art of jewelry making. The process can be done in various styles, such as beaded, wire-wrapped, or setting the stones in a metal frame. Here's a simple guide on how to create a beaded labradorite bracelet.
Materials Needed:
-
Labradorite beads: Choose faceted or smooth labradorite beads in your desired size.
-
Stretch cord or jewelry wire: For stringing the beads.
-
Clasp (optional): If you prefer a more traditional clasp design instead of using elastic cord.
-
Crimp beads or bead tips: For securing the wire or cord ends (if using jewelry wire).
-
Bead stopper: To hold your beads in place as you work.
-
Jewelry pliers: For crimping and working with wire.
-
Bead spacer or accent beads (optional): To add a decorative touch between labradorite beads.
Step-by-Step Process:
-
Plan Your Design
Start by laying out your labradorite beads in the desired pattern. You can choose a simple design with just labradorite beads or mix in accent beads like silver spacers or gemstone beads for added interest. Consider the bracelet length and make sure the beads will fit comfortably around your wrist. -
Cut the Cord or Wire
Cut the stretch cord or jewelry wire to the desired length of the bracelet, adding a few extra inches for securing the ends. If you're using wire, make sure to leave enough length at the ends to attach the clasp later. -
String the Beads
Begin stringing the labradorite beads onto the cord or wire. If you're using a beaded pattern with spacers, alternate between the labradorite beads and accent beads. Keep the beads evenly spaced and ensure that they fit snugly but comfortably. -
Secure the Ends
If you're using stretch cord, tie a secure knot at the end once all the beads are strung. Use a dab of jewelry glue on the knot to keep it in place. If you're using jewelry wire, secure the wire ends with crimp beads to attach the clasp. Use jewelry pliers to crimp the beads tightly. -
Add the Clasp (optional)
If you're using jewelry wire, attach the clasp to the ends of the wire using crimp beads. Use jewelry pliers to securely crimp the beads to the wire, ensuring the clasp is properly fixed. -
Finish and Adjust
Once your clasp is attached or the stretch cord is knotted, check the bracelet for proper fit and adjust the length if needed. Trim any excess cord or wire and ensure that the bracelet is comfortable to wear. -
Polish the Stones
Gently clean the labradorite beads to ensure they're free from any dust or fingerprints. You can use a soft cloth to polish the beads and bring out their natural shine.
Tips for Working with Labradorite:
-
Highlight the Play of Color: When arranging the beads, be mindful of the angles of the labradorite stones to highlight their natural iridescence (labradorescence). Try to place the beads in a way that lets the light hit them at different angles.
-
Avoid Overheating: Labradorite is sensitive to heat, so be cautious during the jewelry-making process. Avoid exposing the stone to extreme temperatures.
Labradorite Necklace: How to Make One
Creating a labradorite necklace is a rewarding project that allows you to showcase the unique beauty of this iridescent gemstone. Whether you opt for a beaded design, wire-wrapped pendant, or a metal setting, a labradorite necklace can be a striking addition to any jewelry collection. Below is a simple guide to creating a beaded labradorite necklace.
Materials Needed:
-
Labradorite beads: Choose beads in your preferred size, shape (round, oval, or faceted), and color.
-
Jewelry wire or beading thread: To string the beads.
-
Clasp (optional): For fastening the necklace.
-
Jump rings: To attach the clasp (if using a clasp).
-
Crimp beads or bead tips: To secure the ends of the wire or thread.
-
Pliers: For working with jewelry wire and jump rings.
-
Bead spacers or accent beads (optional): To add texture or contrast between labradorite beads.
-
Pendant (optional): If you'd like to add a labradorite pendant or focal point.
Step-by-Step Process:
-
Design the Necklace
Begin by laying out your design. You can choose a simple design with just labradorite beads or combine them with accent beads, such as metal spacers or other gemstones. If you are planning to add a pendant, choose a larger labradorite stone that will serve as the focal point of the necklace. -
Measure the Length
Measure the length of your necklace to ensure it fits comfortably. A standard necklace length is 16–18 inches for a choker or 20–24 inches for a more standard length. Add extra length to account for the clasp or knotting. -
String the Beads
Begin stringing the labradorite beads onto the jewelry wire or beading thread. If using accent beads, alternate them with the labradorite beads to create your desired pattern. For a more structured design, use a beading needle for precise threading. -
Secure the Ends
Once you've finished stringing all your beads, secure the ends of the wire or thread using crimp beads or bead tips. If using jewelry wire, slide the crimp bead onto the wire and use pliers to flatten it, securing the beads in place. For thread, tie a strong knot and secure with glue if necessary. -
Add the Clasp (Optional)
If you're using a clasp, attach it by looping the ends of the wire through jump rings, securing them with crimp beads. Use jewelry pliers to press the crimp beads tightly, ensuring the clasp is securely attached. -
Add a Pendant (Optional)
If you are adding a labradorite pendant, thread the pendant onto the necklace before securing the ends. You can use a wire loop or bezel setting for the pendant to ensure it is securely fastened. -
Polish the Necklace
Gently clean the labradorite beads and any metal components to remove dust and fingerprints. Use a soft cloth or jewelry cleaner to polish the beads and give the necklace a lustrous finish. Make sure not to scratch the labradorite while polishing.
Tips for Working with Labradorite:
-
Maximize the Labradorite Effect: Position the beads so that they catch the light from different angles to show off the gemstone's unique iridescence (labradorescence). Experiment with bead placements to highlight the colors in the stone.
-
Avoid Overheating: Labradorite is sensitive to high temperatures, so take care when handling or soldering any metal components near the gemstone.
-
Use a Strong Thread or Wire: Make sure to choose a durable wire or beading thread to support the weight of the labradorite beads, especially if the necklace is larger or features a heavy pendant.
Labradorite Earrings: How to Make One
Creating your own labradorite earrings is a rewarding project that allows you to showcase the stone's unique iridescent beauty. Whether you choose to make stud earrings, dangles, or hoops, the process involves simple jewelry-making techniques that can result in a stunning, personalized accessory. Below is a step-by-step guide to help you create your own pair of labradorite earrings.
Materials Needed:
-
Labradorite Stones: Choose cabochons, beads, or faceted labradorite stones in your preferred size.
-
Earring Findings: Stud posts, earring hooks, or hoops, depending on your design.
-
Metal Wire or Bezel Settings: For creating a secure setting for the stones.
-
Jump Rings: To attach the stone to the earring findings.
-
Jewelry Pliers: To help with bending wire, attaching jump rings, and securing earring components.
-
Earring Backs (for studs): To ensure the earrings stay securely in place.
Step-by-Step Process:
-
Choose Your Design
Decide on the style of labradorite earrings you want to create. Do you prefer simple stud earrings, or would you like a dangle or hoop design? Lay out your stones and findings to visualize how your finished earrings will look. -
Prepare the Metal Settings
For stud earrings, if you're using cabochon stones, create a bezel setting using metal wire, ensuring the stone fits snugly. For dangle earrings, you may need to create a wire wrap or use a ready-made metal frame to hold the stone in place. -
Attach the Stones to Earring Findings
-
For stud earrings, glue or solder the labradorite stones securely to the earring posts.
-
For dangle earrings, use jump rings to attach the labradorite stone (or bezel setting) to the earring hook or wire. Ensure the stone hangs freely, allowing it to catch the light and showcase its labradorescence.
-
For hoop earrings, incorporate the labradorite stones along the hoop's edge or in a center position, using jump rings to secure them.
-
-
Secure the Earring Findings
Once the stones are securely attached, use jewelry pliers to make sure all jump rings are closed tightly, ensuring there are no gaps. If you're using studs, make sure the earring backs are properly attached for a secure fit. -
Polish and Finish
Clean the labradorite stones and metal components to remove any dust or fingerprints. Use a soft cloth to gently polish the stones and bring out their natural iridescence. -
Final Check
Inspect the earrings for balance, symmetry, and proper fit. Ensure the stones are securely held in place and that the earring findings are comfortably positioned.
Tips for Working with Labradorite:
-
Maximize the Laborescence: When setting the stones, make sure they are positioned in a way that allows the light to interact with the stone from different angles. This will highlight the stone's natural play of colors.
-
Gentle Handling: Labradorite is durable but can be sensitive to excessive heat. Handle the stones carefully, especially when soldering or using tools near the stones.
-
Metal Pairing: Labradorite pairs beautifully with silver, gold, or rose gold. Choose the metal finish that best complements the stone's color play.
Labradorite Pendant: How to Make One
Creating a labradorite pendant is an exciting way to showcase the stunning iridescence of this gemstone. The pendant can be designed as a simple, elegant piece or a more intricate design, depending on your preferences. Below is a step-by-step guide to help you craft your own labradorite pendant.
Materials Needed:
-
Labradorite Stone: Choose a cabochon, polished, or faceted labradorite stone.
-
Pendant Bail: This is used to attach the pendant to a chain or necklace.
-
Metal Wire: Silver, gold, or any preferred metal for making the bezel or frame.
-
Jewelry Pliers: For bending wire, attaching bails, and finishing the pendant.
-
Soldering Kit (optional): If you prefer to solder the stone securely in place.
-
Jeweler's Glue (optional): For extra security in stone setting.
-
Chain or Necklace Cord: To hang your completed pendant.
Step-by-Step Process:
-
Design the Pendant
Decide on the style of your pendant. Do you want a simple bezel setting, or are you looking for a more intricate wire-wrapped design? Lay out your design ideas and ensure the labradorite stone you've chosen will fit comfortably within the pendant design. -
Create the Bezel Setting
If you're using metal wire to create a bezel, carefully measure the stone's circumference and cut a strip of metal wire to match. Shape the wire around the stone, making sure it holds the labradorite securely. You can use jewelry pliers to gently fold the metal over the stone's edges, creating a snug fit. Solder the ends together if necessary. -
Secure the Stone
Once the bezel is formed, place the labradorite stone inside and ensure it fits securely. If you are not soldering the bezel, you can use jeweler's glue to fix the stone in place. For wire-wrapped designs, you can wrap the wire around the stone to hold it in position. -
Add the Pendant Bail
To attach the pendant to a necklace, you need a pendant bail. If you're using a pre-made bail, simply attach it to the top of your pendant using jump rings. Alternatively, you can create a custom bail from wire by bending the wire to form a loop and attaching it to the top of the pendant. -
Finishing Touches
Use jewelry pliers to smooth any rough edges and ensure the bezel or wire wrapping is secure. Polish the metal and labradorite stone to remove any fingerprints and dust, bringing out the full iridescent beauty of the labradorite. -
Attach to a Chain or Cord
Once the pendant is complete, thread it onto a chain, leather cord, or necklace of your choice. Ensure the chain is the appropriate length for comfort and style.
Tips for Working with Labradorite:
-
Highlight the Laborescence: When setting the labradorite stone, make sure it's positioned in a way that allows light to reflect off it from various angles to enhance its color-changing qualities.
-
Gentle Soldering: If you're using soldering techniques, be cautious about overheating the stone, as labradorite can be sensitive to extreme temperatures.
-
Choose the Right Metal: Silver, gold, or copper all complement labradorite's colors beautifully. Choose a metal finish that enhances the stone's play of color.