DIY Jewelry Making: How to Create Stunning Beaded Bracelets
Share
Creating your own beaded bracelets is a fun and creative way to express your personal style. Whether you’re a beginner or an experienced jewelry maker, making your own beaded bracelets can be incredibly rewarding. In this guide, we will walk you through the steps to design and create beautiful beaded bracelets that you can wear or gift to someone special.
If you are new to the market and need affordable but authentic beads simply click here
Materials You'll Need
Before you start, gather all the necessary materials to make your beaded bracelet. Here’s what you’ll need:
- Beads (choose from gemstone, glass, wood, or metal beads)
- Elastic cord (or beading wire, if you prefer a sturdier option)
- Crimp beads (if using beading wire)
- Clasp (optional, for added style)
- Beading needle (if using smaller beads)
- Scissors
- Bead mat (to prevent beads from rolling away)
- Jewelry pliers (if using clasps or crimp beads)
Step-by-Step Guide to Making Beaded Bracelets
1. Choose Your Beads
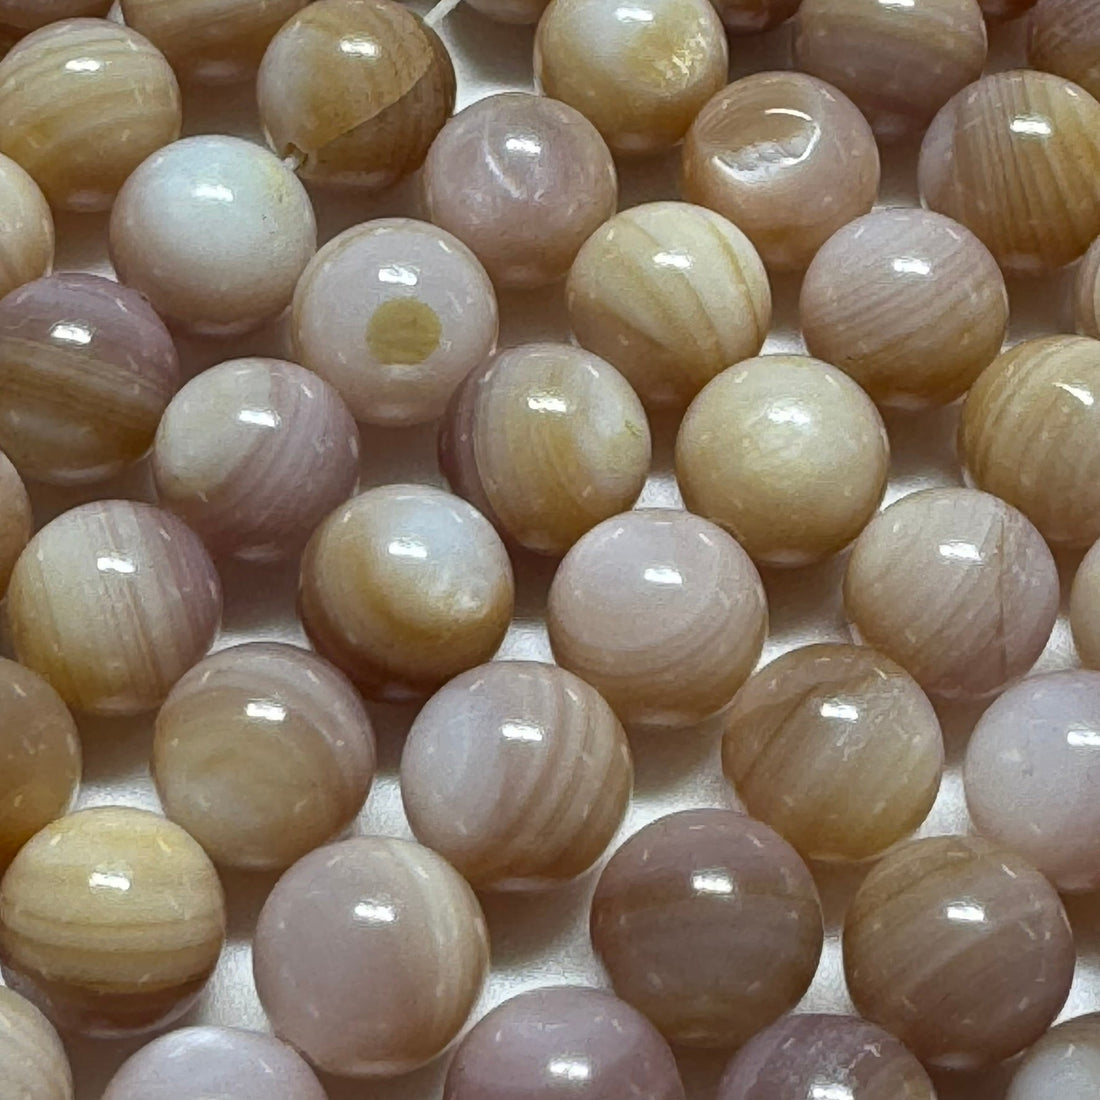
The first step in creating your bracelet is selecting the beads. You can go for a single type of bead or mix different ones for a unique design. If you're using gemstone beads, such as moonstone, labradorite, or rose quartz, consider the properties of each stone. For example, moonstone is said to enhance intuition, while rose quartz symbolizes love and compassion.
2. Measure Your Wrist
Once you’ve chosen your beads, measure your wrist to determine the length of the bracelet. A standard bracelet length is about 7-8 inches, but you can adjust this based on your wrist size.
3. Cut the Cord
Cut a piece of elastic cord that is a few inches longer than your wrist measurement. This will allow enough length to tie the knots at the end.
4. String the Beads
Begin stringing your beads onto the elastic cord. Be creative with your pattern! You can create a repeating pattern or a random assortment. Make sure to leave a small space at both ends to tie the knots.
5. Secure the Ends
Once you’ve added all the beads, tie a knot at each end of the cord to secure the beads in place. If you’re using elastic cord, tie a double knot for extra security. If you're using beading wire, crimp the beads in place with crimp beads and jewelry pliers.
6. Add the Clasp (Optional)
If you prefer a more polished look, you can add a clasp to your bracelet. Attach the clasp to the ends of the bracelet using jewelry pliers, securing the beads with crimp beads.
7. Tie the Knot
If you’re using elastic cord, tie the knot securely and trim the excess cord. If you’re using beading wire, use a crimp bead to hold the wire in place before trimming.
8. Finish and Wear
After securing the knot and trimming the ends, your beaded bracelet is ready to wear! Try it on and adjust the fit if needed. You now have a beautiful, handcrafted bracelet that adds a personal touch to your jewelry collection.
Tips for Creating Stunning Beaded Bracelets
1. Mix and Match Beads
For a more dynamic look, mix different types of beads. Combine gemstone beads with glass beads, or add a few metal spacer beads for texture. Don’t be afraid to experiment with color combinations to make your bracelet pop!
2. Use Spacer Beads for a Balanced Look
Spacer beads are small beads that help break up larger beads and create visual interest. These beads work well between gemstone beads or larger decorative beads.
3. Add Charms for Personalization
Add a charm or pendant to your bracelet to give it a personal touch. You can select a charm that represents something meaningful to you, like a heart for love or a star for inspiration.
4. Make a Stackable Bracelet
Create multiple bracelets in different colors and styles to wear together for a trendy stacked look. Mix up textures, such as combining smooth gemstones with faceted glass beads.
Conclusion
Making your own beaded bracelets is an enjoyable and creative way to craft personalized jewelry. With the right beads, tools, and creativity, you can design a bracelet that reflects your style and personality. Follow the steps above and start creating beautiful, handmade beaded bracelets today!